Hi, I’m Jorge Amengol, a fresh graduate student of the Game Development - Advanced Programming course at Fanshawe College, Canada. I started this series of posts to register my own progress throughout the program and also serve as a reference for me on important subjects in the future. Though it is a personal record, you might find the subjects discussed here useful. Feel free to make comments at the end of each post.
Continuing…
In the last topic we talked about some Technical Aspects of my Game Jam as well as several things involved in the developing process of the final demo. Before we continue to the next “technical thing” listed in my presentation, I want to share a little bit more about the inspiration for the demo and the process that led me to the final idea.
The 80’s Inspiration
It may look like that I was aiming for my demo to resemble the 80’s success Ghost n’ Goblins since the beginning, but I was not. Although I wanted to give it a pop reference from the 80’s, I was aiming in something more between the lines of Thriller (M. Jackson) and a fight between zombies coming out of the ground in a graveyard.
When I finished building the Graveyard scene I had already decided for the knight as the main character. The only thing left in the puzzle was to find a good set of zombies to make them fight against him.
I new that Mixamo had a lot of zombies and I was pretty sure they would suite the scene quite well, but two things made me change my opinion:
- There wouldn’t be enough time to make a large NPC AI system to handle a plausible fight scene between the knight and the zombies;
- The only good and free zombies that I could find were using modern clothes like nurses, policemen etc. Having modern “undead” running around an ancient Knight would not make much sense, I supposed.
Thus, as in a real Game Project, I had to cut some things because of time (not enough to the Game Jam presentation) and money (spending money on an expensive commercial zombie package was out of the question).
The alternative was: replacing the zombies by monsters and simplifying the NPC system to something feasible to the deadline. Thus, the Final Scene was built around these fundamental elements: A graveyard, a knight (player) and two power-up zones with one guardian monster each.
Ok, the core of the presentation was completed. However, I still wanted to give it a little bit more of 80’s personality. Looking at my project: A knight in a graveyard fighting against monsters, it suddenly became clear that I was involuntary going to the direction of one of the greatest games from that decade: Ghost n’ Goblins:
1985 Ghost n’ Goblins
That was it! My scene looked a lot like the very first stage of that game. Now what?
First, I tried to put the soundtrack of the first stage into my game, but its 8-bit music did not blend well with a modern Graphics presentation. Then, I started looking for some covers or reinterpretation of the music and I found this one:
YouTube video - Ghosts n’ Goblins - Haunted Graveyard (Stage 1) on guitar
The interpretation was very good, but the pace was too fast for a 3D game. I had to find another one and this sounded way better for my purposes:
YouTube video - Ghosts n Goblins Theme Rock Metal
However, the prelude was I totally different being and did not fit at all with the dark feel of the scene. The simple solution here was to cut the prelude of the first one and put it together with the rest of the song of the last one. For that and all audio edition in this demo I used Audacity.
Great! I had a soundtrack for the game. But I realized that I needed to do a little bit more to identify my demo with the 80’s success.
I had this idea to have the old game appearing in my Engine and then transitioning to the new concept and the easiest and fasted way to do this to be able to finish it before the deadline was to make a sequence of screenshots to emulate the old game. As I needed sound and also a menu screen before this emulation, I designed a “Scene Control” to handle everything.
Scene Control
The idea of the scene control was quite simple indeed. Using mainly deferred render, it would handle all the screen transitions, from the Disclaimer screen to the last fade effect to the “real game”. Besides that, it would also handle some post process effects and the right sound for each screen.
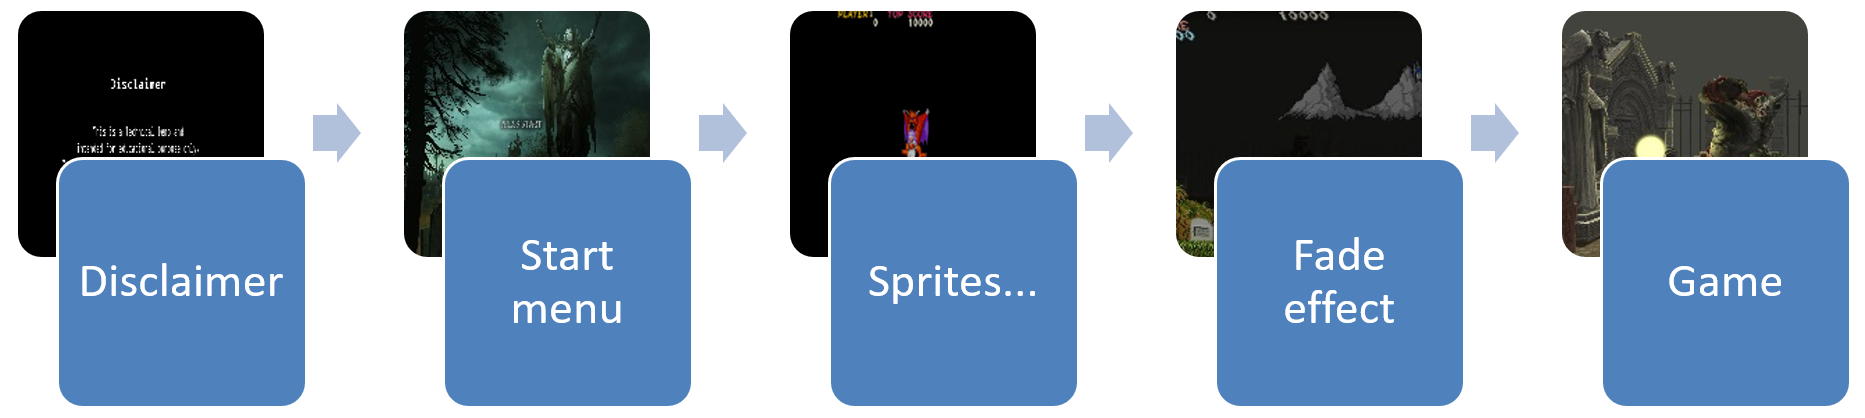 Screen sequence (some screens omitted for space)
This video shows the final result of the Scene Control:
YouTube video - Scene Control - Game Jam
I was aiming for a little “wow” during the transition of an 8-bit era game to a modern graphic one. Judging by the reactions during my Game Jam presentation, I really think that that was a very good idea.
NPC mini system
I knew I needed at least a little bit of action in my scene, however, as mentioned in the last topic, developing a complete AI system before the deadline would be impossible. My idea was to make things as easy as possible then.
To avoid dealing with path finding and a lot of AI behaviors I decided to have fixed NPCs. In fact, as I made them turn nicely to the player, it would be not that difficult to have at least a “Pursuit” behavior, however, my scene having a lot of obstacles, the NPCs would certainly need a better path finding system. So, what the NPCs end up doing for this demo were:
- Turn to the character using the shortest angle between them.
- React to the character according to the distance between each other.
I called those NPCs “Guardians” because they were in front a little house protecting a kind of glowing sphere.
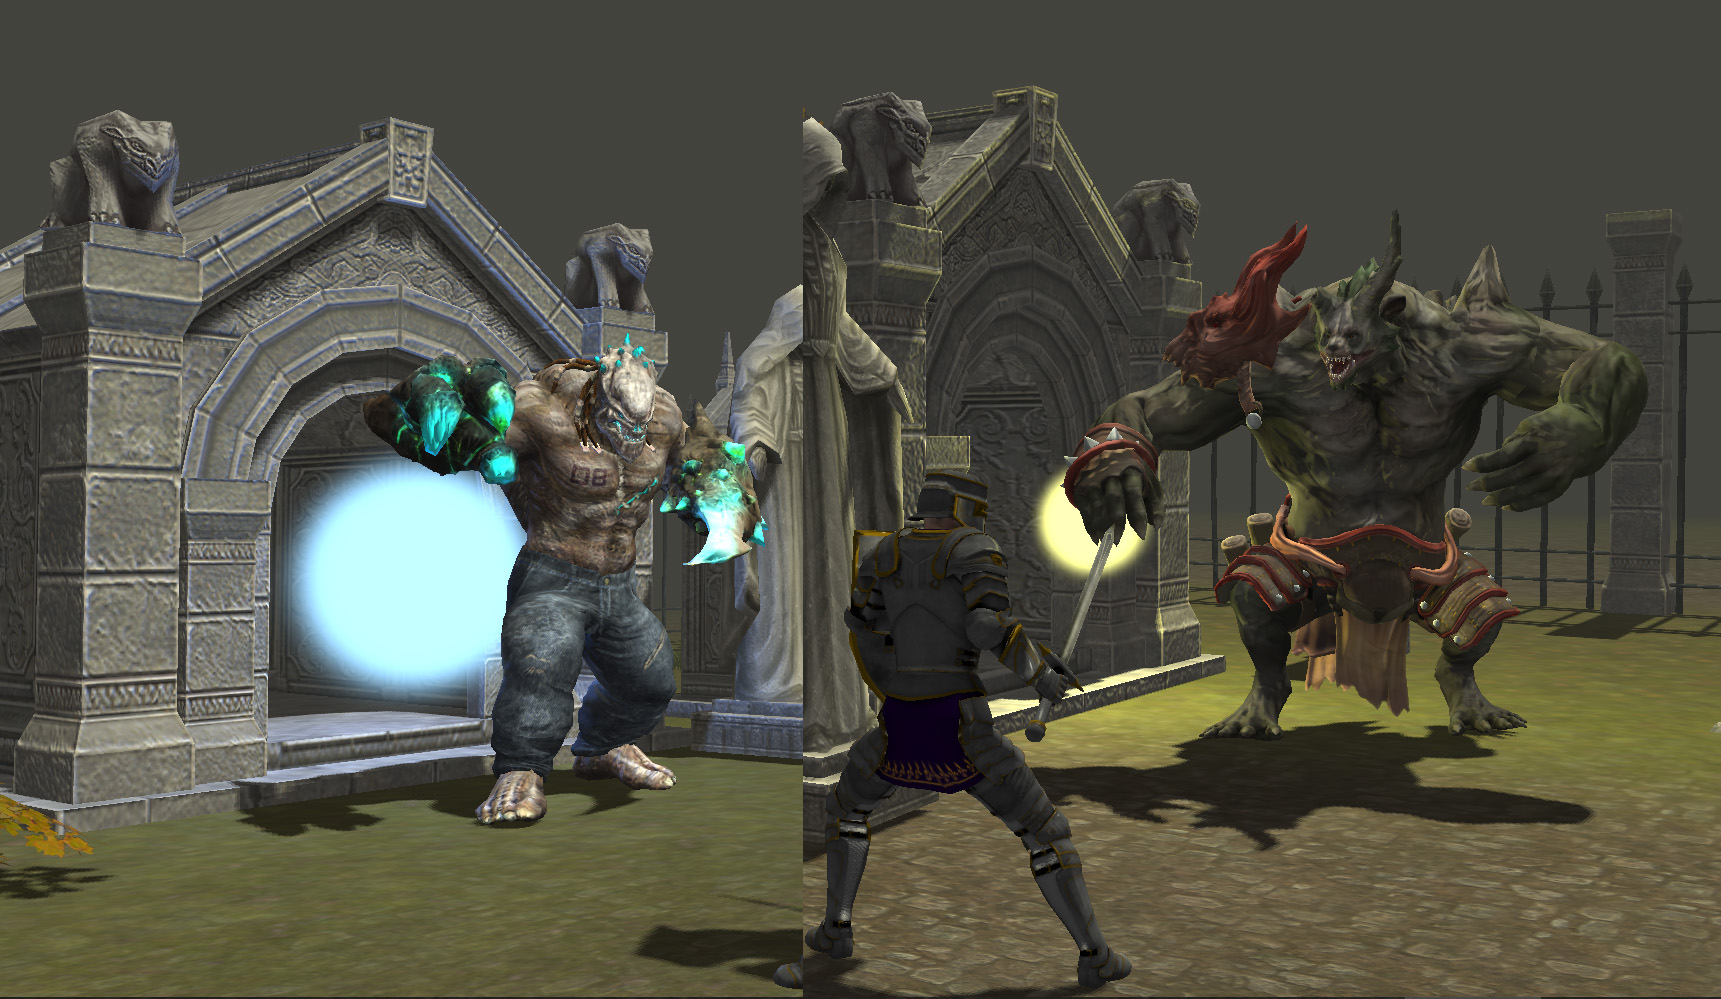 NPCs: Guardians
Deferred Render – Old-film effect
Although my Scene Control was already using Deferred Render to put the screens on top of everything, I had to have a “Post-process” effect to make it count as a “full deferred render” for evaluation purposes (after all, this was an evaluation). The Old-film effect, placed at the Start Menu and the first sprite screen, came to fulfill this requirement.
It was a simple horizontal displacement in time of this texture (as alpha) in the vertex shader
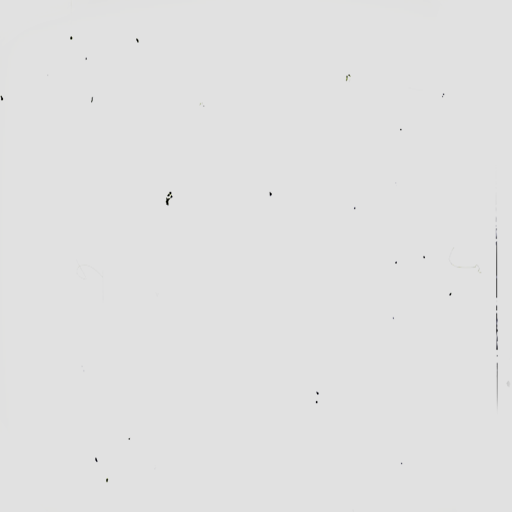
Alpha old-film texture
Combined with a “Sepia effect” the Menu (or sprite) texture
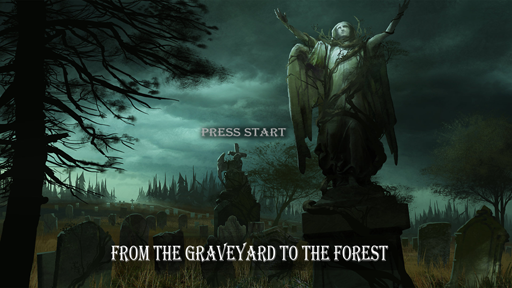
Start menu screen texture
The result looked like this:
YouTube video - Tech Demo - Main Menu screen and sound
Physics with Bullet
Those brave men and women that had finished this GDP course know that Time Manager is a key to success in this program. We usually have more than one project to deliver at the same week and being able to blend projects is a wise thing to do. As the Game Jam final project also accepted topics from Physics and as we also had a Physics project due the same week, I decided to make my Tech Demo also the Physics project. This is a summary of what was implemented:
- Bullet Physics was integrated to the Engine. However, everything was made behind interfaces, making the integration as generic as possible, to be able to replace Bullet by any other Physics Library in the future if necessary.
- Almost everything in the scene has a simplified Convex Hull object in the Physics Engine, reacting nicely to the main character.
- The character and NPCs were implemented as a Capsule, using some tricks to keep it always straight.
- The props of the character were being placed/attached to the right bone each frame and could fall on ground and put back.
- A Debug Render to see all Physics Geometry and states was implemented

Physics Debug Render
The Fog Effect
To finish the sinister look of my presentation I needed a fog effect. There are many ways and tutorials on the Internet to accomplish it. I used this very good one: Create a Fog shader
Putting in few words, the fog effect is accomplished making a blend of the fog color and the pixel color depending on the distance to the camera. There is a minimum value or distance with no fog and a maximum where there is only fog.
For my Demo I played with the values and integrated the Fog Effect with the Day/Night cycle, changing the color of the FOG according to the lights and also making it fade during the day, when it complete disappears near noon.
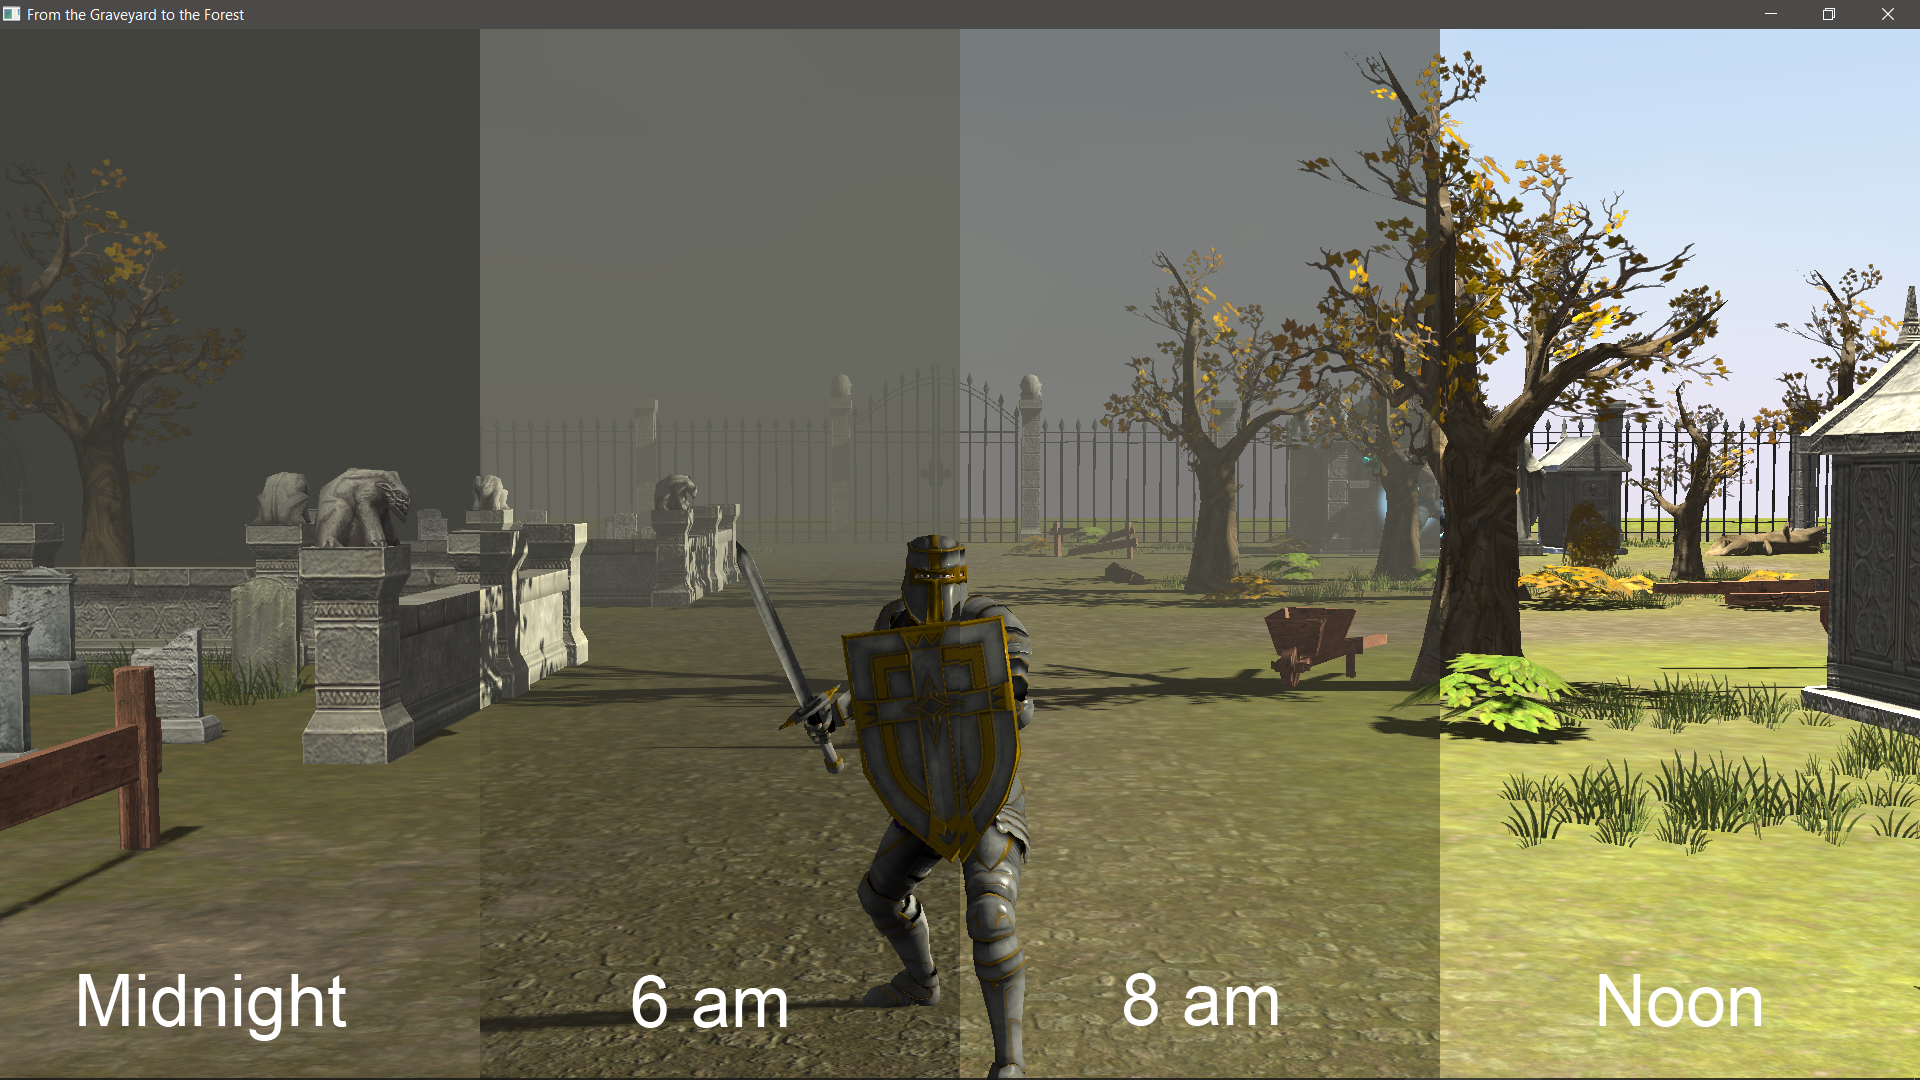
The Fog Effect
The final presentation
This video summarizes what I presented during the Fanshawe’s 2018 Game Jam at the Downton Campus, London Ontario. Please turn on the subtitles to see a brief description of each technical item presented here.
Youtube video - Presentation: Fanshawe’s Game Jam
Conclusion
This project was the final milestone of this very demanding program (Game Development - Advanced Programming). Although difficult, I’m extremely delighted to have accomplished so mush in a short period of time: a simple Triangle on the Screen to a fully functional game engine in less than 8 months.
I would say to anyone interested in taking the GDP course that it definitely worth it. However, you do have to be willing to give up some social life and other sacrifices to be able to keep up with the course. The general feeling, few days after it had ended, was that something was about to be due and we still had to rush to submit an assignment.
With these two topics I tried to be not too technical and talk more over the general aspects of my final project, the Game Jam. If you want to know more about it you can comment on this post or contact me by any means you want.
Thanks for reading,
Jorge Amengol.