Hi, I’m Jorge Amengol, a fresh graduate student of the Game Development - Advanced Programming course at Fanshawe College, Canada. I started this series of posts to register my own progress throughout the program and also serve as a reference for me on important subjects in the future. Though it is a personal record, you might find the subjects discussed here useful. Feel free to make comments at the end of each post.
Introduction
For this project, Professor Feeney asked us to show our implementation of the hierarchical bounding boxes, especially the Axis Aligned Bounding Boxes (AABBs). For that, he wanted complex models being moved through a complex world, controlled by Newtonian forces and exhibiting detailed collision information with the environment.
The good thing is that I planned this Project together with the Graphics one, so I could implement all the necessary stuff into my engine already.
Here are the main requirements:
- Renders a large, complex 3D environment
- Must contain a user controllable ship that can be manipulated through multiple degrees of translational (and optionally, rotational) freedom
- Must have a complex static environment that the entity navigates through.
- Must detect a reasonably small, exact collision point or volume.
- The location of the collision should be shown somehow.
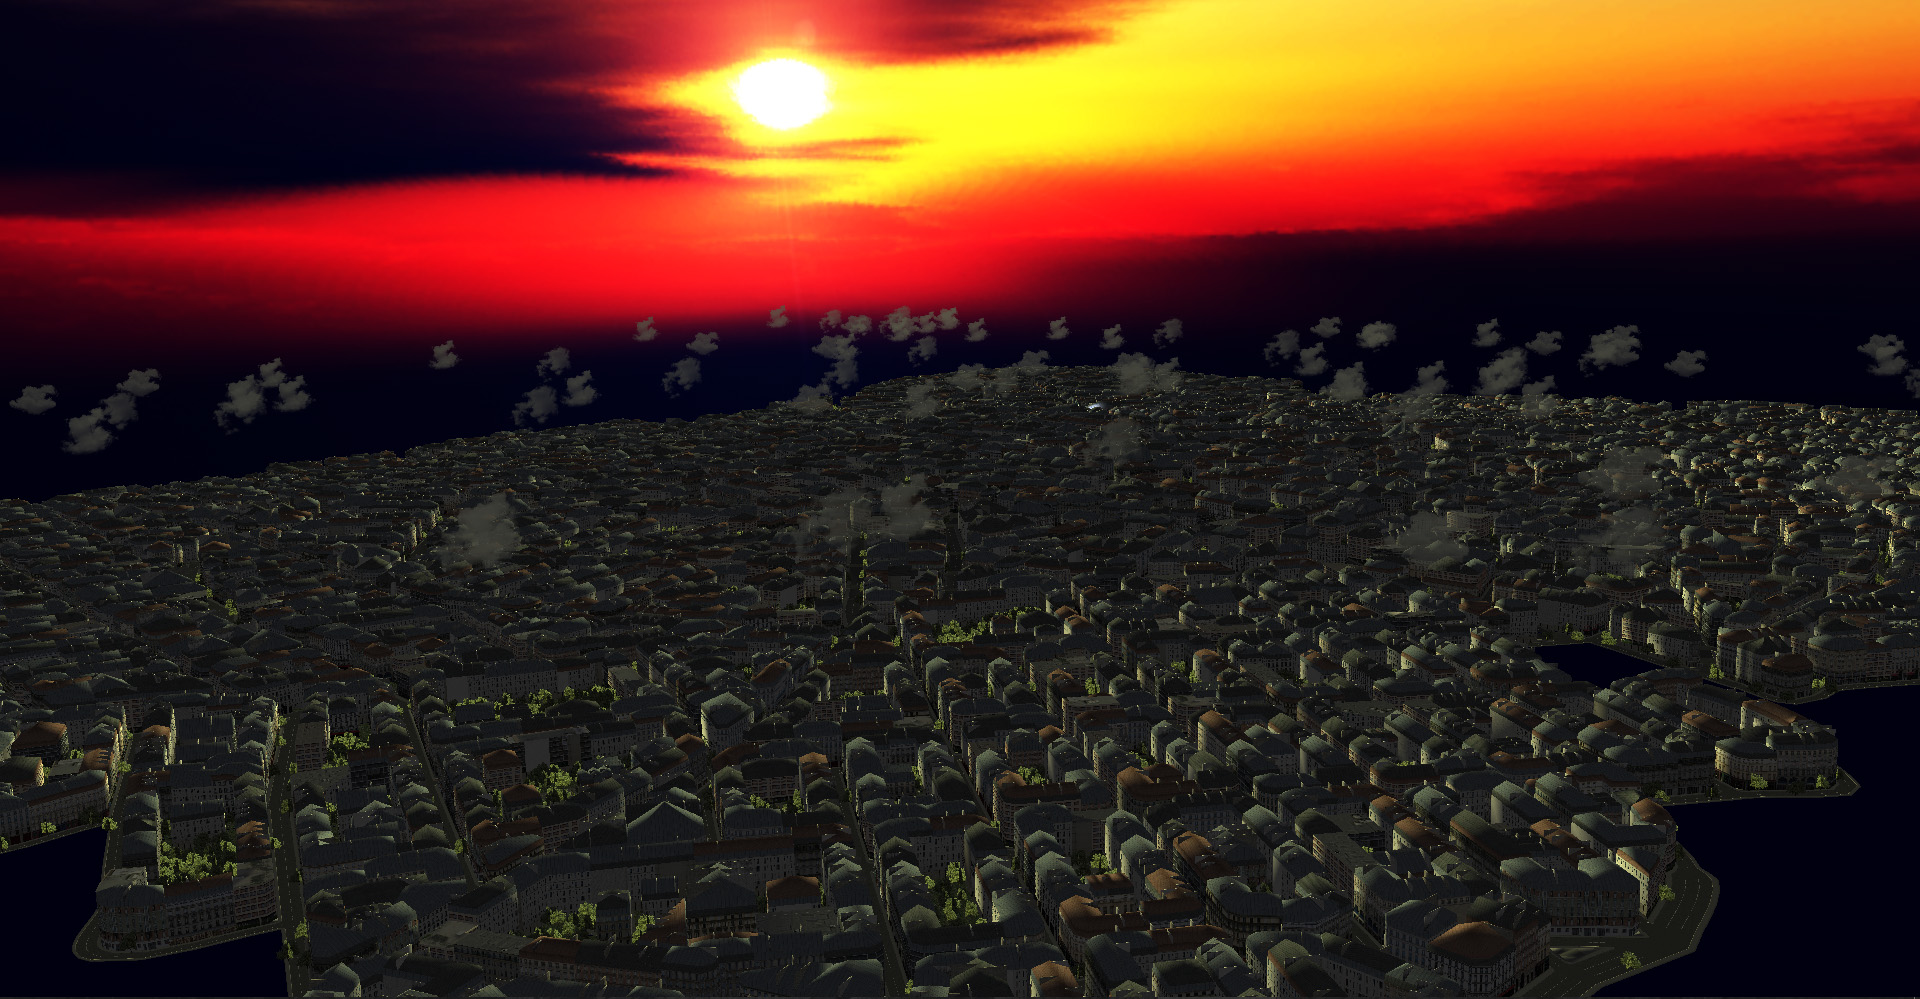
A Large Complex 3D Environment
Again, I used for this one the same environment used in the Graphics Project. If you take a look at the session The Models of that post, you will have an idea of how complex the scene is. But here is an screen overview of it:
The Delorean (controllable ship)
At my Building a Camera System post I explain how I have used matrices instead of vectors for the camera orientation. Around the same period, I also changed the orientation of the Game Object to use matrices and, like the camera, they were able to be moved around its local axis. From that, all that I needed was to configure my camera to “follow” the object, a mode that I had already implemented before. The result can be seen in this video:
See other videos on my YouTube Channel
The Collision Detection
This is where most part of this Project is new. Besides showing the Debug AABBs system as already explained in this post, I had to actually implement the Collision Detection with a Collision Response. The later was just a clamp in the speed after colliding, so the real deal here is the former.
The first step was to create Contact Points to the mesh that we wanted to have the collision “active”. There is automatic, and sometimes complicated, ways of doing that, but I chose the simplest one: draw their geometry like boxes where I wanted them:
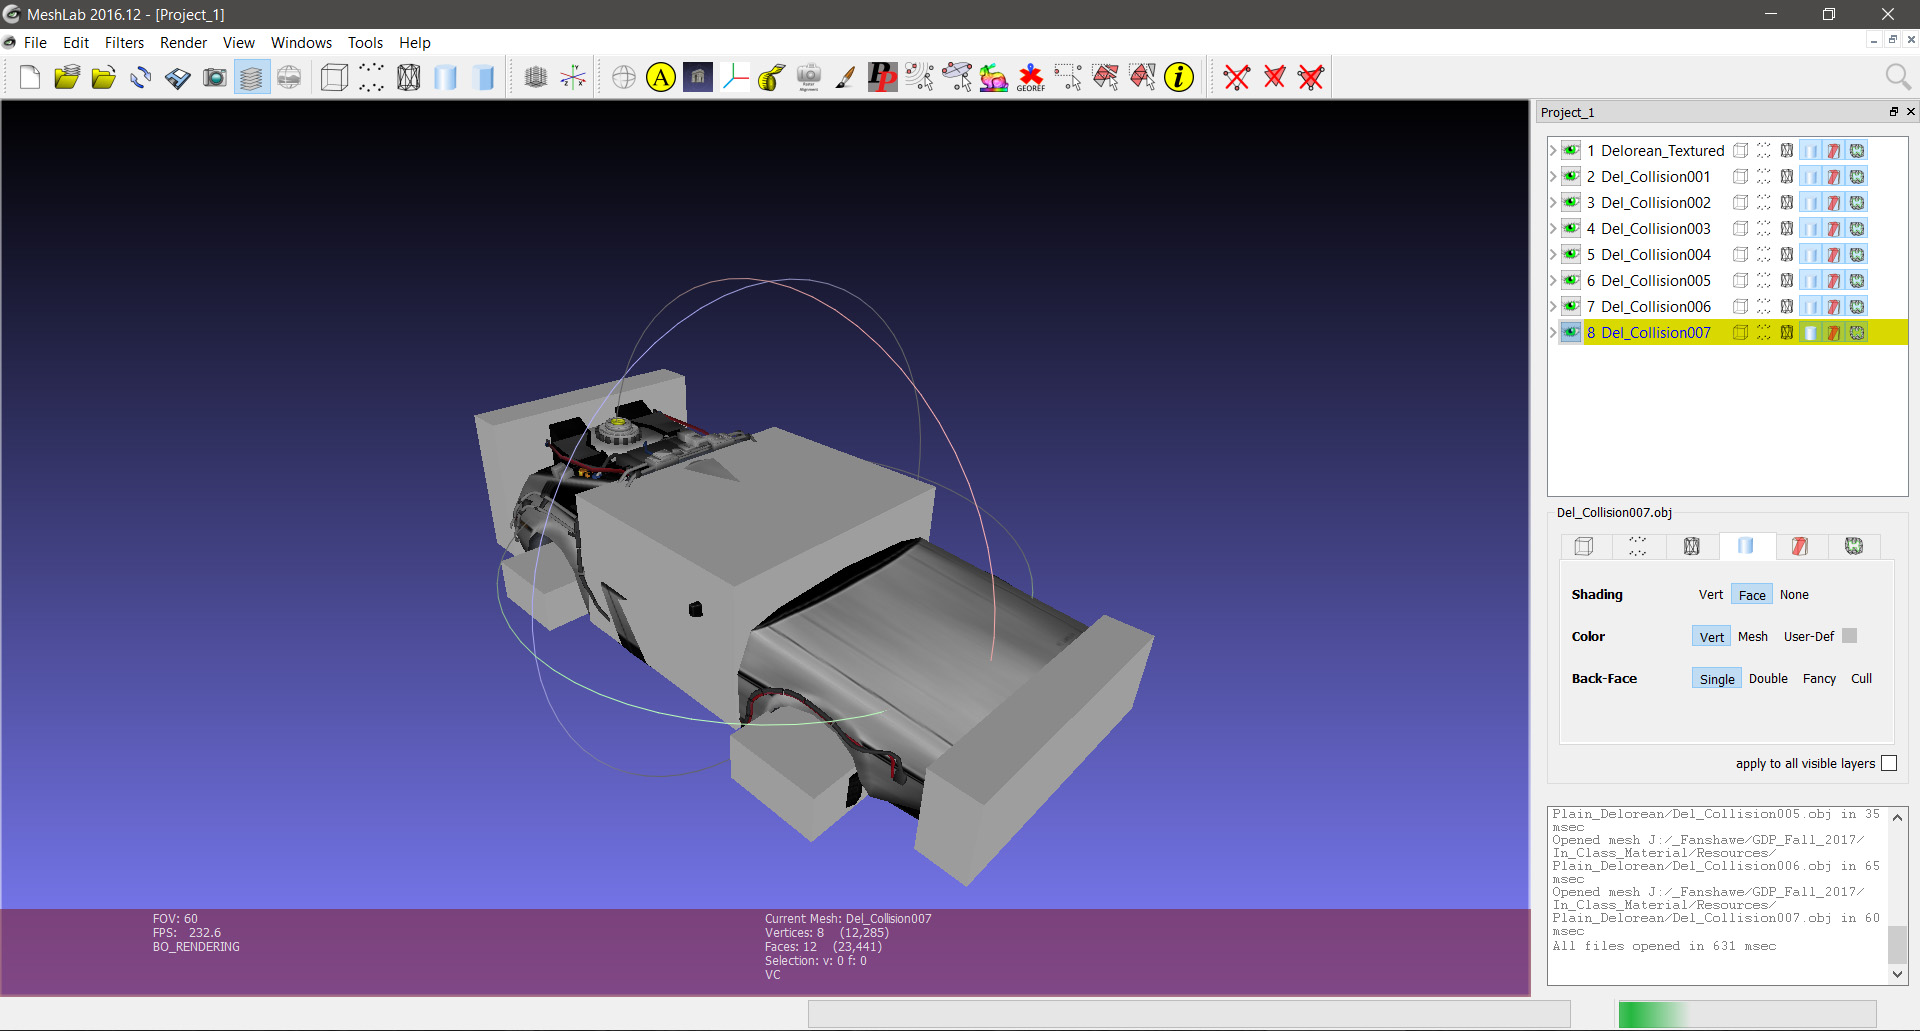
Each “contact point box” is loaded as a separated mesh into the engine and the second step was, for each frame, reposition them along with the proper Game Object.
The third step was to produce a kind of a bounding box for the mesh (the Delorean).
My Game Object already had a maxExtent variable inherited from Professor Feeney’s code. Once we had that, the idea was to take that value along the the position of the object to calculate the bounding box and have the mesh inside of it. So the code for the 8 vertices would be like this:
// Take the mesh extents
float maxExtent = theMesh.maxExtent;

// Vertices
glm::vec3 vertices[8];
vertices[0] = theGameObject->position - maxExtent/2.0f;
vertices[1] = glm::vec3(vertices[0].x + maxExtent, vertices[0].y, vertices[0].z);
vertices[2] = glm::vec3(vertices[0].x, vertices[0].y + maxExtent, vertices[0].z);
vertices[3] = glm::vec3(vertices[0].x + maxExtent, vertices[0].y + maxExtent, vertices[0].z);
vertices[4] = glm::vec3(vertices[0].x, vertices[0].y, vertices[0].z + maxExtent);
vertices[5] = glm::vec3(vertices[0].x + maxExtent, vertices[0].y, vertices[0].z + maxExtent);
vertices[6] = glm::vec3(vertices[0].x, vertices[0].y + maxExtent, vertices[0].z + maxExtent);
vertices[7] = glm::vec3(vertices[0].x + maxExtent, vertices[0].y + maxExtent, vertices[0].z + maxExtent);
The next step was to calculate the AABB ID for each vertex, in case our Game Object spans for more than one AABB.
Finely, the last step was to check each triangle of an contact point against a triangle of an AABB for a collision. In case we get one, clamp all velocities to zero.
For that triangle-triangle check I used the excellent Tomas Moller’s code. I find it to be very robust. If you want to try it, make sure you use the Bug-fixed code.
Conclusion
Those two projects, this Physics and the Graphics one, although pretty demanding, were very fun to do. It was for me a truly wake up call, in the sense that we have to think fast and try to come up with a plan that would satisfy more than one purpose, especially with a tight schedule like we have in this course. If I had done completely separated solutions for those two projects, I would certainly had fail or at the best delivered very poor solutions to the problems.
A fun fact that happened in class was Professor M. Feeney asking what was the part of the course that was being most difficult for us, and a student said right away: Time Management. He couldn’t be more right! I hope I have learnt this lesson not only for this course, but for this career too!
In case you want to see the presentation of this project to Professor Feeney, you are welcome to watch it here:
See other videos on my YouTube Channel
I hope this has helped you in any way. Please feel free to leave a comment or, if you want to contact me, use any means at the bottom of this page.
Have fun coding,
Jorge Amengol.