Hi, I’m Jorge Amengol, a fresh graduate student of the Game Development - Advanced Programming course at Fanshawe College, Canada. I started this series of posts to register my own progress throughout the program and also serve as a reference for me on important subjects in the future. Though it is a personal record, you might find the subjects discussed here useful. Feel free to make comments at the end of each post.
Introduction
The Fall 2017 semester is now coming to an end (yes, only now in 2018 because of the strike) and I must say: this course is really tough. Not only the subjects are hard to master, but also we simply don’t have enough time for them. We really have to optimize our time and plan ahead if we want to succeed. But enough of this, let get right to the topic of this post: the Graphics1 Project2.
For this project, we had to “show off” some tech that we saw in class, specially these:
- Basic directional, point, and spot lights (or equivalent)
- 2D Texturing, Skybox
- (optional) Multiple shaders
- Interactive control of camera and lights
- Transparency
An a more detailed description here:
- Need to load a number of objects into a static (or dynamic) scene.
- Meshes in the scene must include normals (for lighting) and materials (aka “colours”, including specular) and textures (i.e. you can have models that don’t have textures, but they need to be something that “makes sense” that they don’t have textures: like white “cue ball” in pool, for instance – it’s plain, shiny white, so doesn’t really need a texture)
- The description of the scene (models, locations, initial camera and lighting) must be described in an external, human readable (i.e. text, not binary), file (so that it can be edited and changed).
- The repeated models must be of different materials and/or textures.
- You may not just randomly assign materials to the objects; you must explicitly define the material colours (again, so they “make sense”- no brick-mapped Galacticas, for instance).
- Use at least four (4) different shaders (This can be discrete shaders or a single “uber” shader).
- There must be a “large” number of objects, ideally more than you had in project #2.
- You must have significantly more lights than in project #1 (like 2-3x the number)
- The scene has to “make sense” (more details later).
As you can see, a lot to cover for this one. So let me share some information on how I managed them.
The models
For this project, and also because of the Physics project, I chose to plan ahead and bring a big model into the scene. Like a low poly city or something. Looking for it on the internet I found this one: https://free3d.com/3d-model/paris-33983.html
Apparently, it is a Paris replica, using a kind of auto generation process with a software called City Engine.
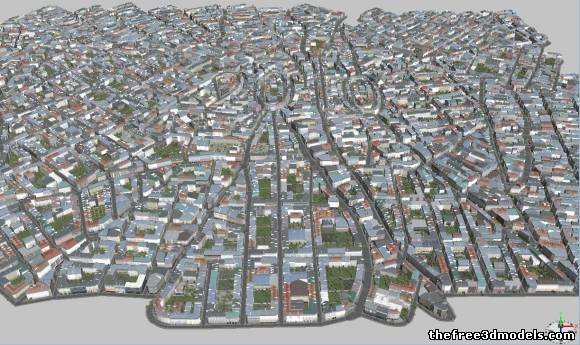
Well, that was just the first part of the problem (finding models). The other was changing it to a format that my engine understood at the moment (the PLY format For that task we can use the very good MeshLab software and most of the time it will do the job, but this specific model had more than one hundred separated models with its own textures and this would certain bring my Game Engine down to its knees in frame rate. I know that nowadays engines can handle hundreds or thousands of textures, but they are mature, have LOD systems and optimizations that I still don’t have any clue how to do, so reducing the number of textures were a must for this task. But how?
Here some previous experience with other Game Development areas comes in handy and can make our lives a lot easier. As I mention in my profile, I have some years of experience developing add-ons (DLCs) for Flight Simulators. In other words, I have some knowledge modelling and texturing and that helped for the task that I needed here.
To simplify, I turned this:
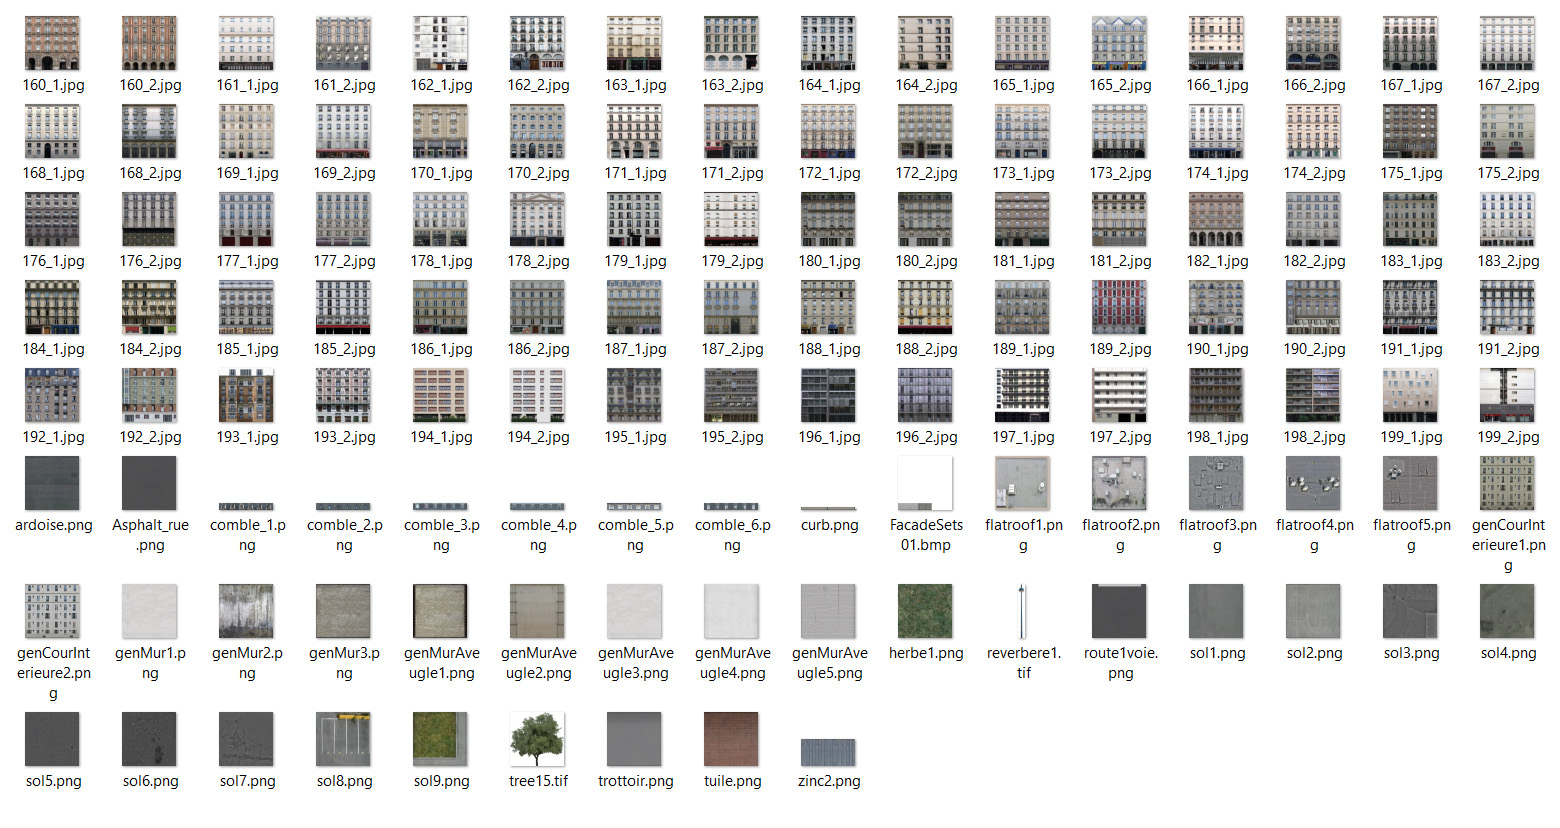
Into this:

If you have noticed the detail, I also reduced the number of facade textures, because the variety with those in texture FacadesSet01.bmp was already good enough for the project. You can use any good image software suite to do the job of reducing and putting more than one texture together in a single texture sheet.
But we can’t just put the textures together and expect the models to understand the new UV coordinates. So I did the tedious job of repositioning the UVs using 3D Studio. By the way, you can get a free education license if you are a student here.
Summarizing, I’m not telling here that you as a programmer need to know how to model, texture or animate too to succeed in your tasks, but if you do, you can simplify a lot of them or even test things on your own before have some other guy to do that for you so you can test your code.
The description of the scene - JSON
Until this point my engine had all models being loaded directly from the code (hardcoded). I knew the day to load the description of the scene from a file was coming, but with the amount of assignments to do, it was kept aside until the call was made by an assignment itself.
For the Media Fundamentals Project 2, I did a simple loader to load a configuration file. A special touch to the ‘#’ to comment lines :)
However, for this one, I needed some more robust description, especially because I would load different objects (and configurations). Following a tip from Professor Oscar Lara in the Media assignment, I went with the JSON for that, more specifically RapidJSON. It is very lightweight and pretty much strait forward to implement. You can checkout their tutorial here.
For this assignment I got the Meshes, Game Objects, Lights and Camera configuration all being loaded externally. So, no need to recompile the source again to get a different scene (except for the textures - they were left for a “future” - aka another assignment update).
You can take a look at the two JSON config files here:
Multiple Shaders (or a “Uber shader”)
The assignment also asked for multiple shaders OR an “uber shader” …where there are very different “techniques” being used, selected by a switch or if statement(s). “Different” means things like: lighting, no-lighting, textures only, skybox, textures + lighting, etc.
For this assignment I chose the “uber” approach. It was a simple fragment shader fed by uniforms that would say how a model is supposed to be loaded (plain vertices with colours, textured, skybox etc.).
Everything was working as expected until I run the solution using on my Nvidia card. All the textured models were gone, except for the skybox.
Compare the scenes:
No matter what I tried, I couldn’t find the reason why I got the things working on my integrated Intel card, but not on the Nvidia. As the deadline to submit the project was getting near, I asked for Professor M. Feeney’s help. He was very kind and of course, found the problem in a few minutes.
What he explained me was that the Intel card was more “forgiving” than Nvidia or AMD cards in the matter of OpenGL specifications.
He explained that I was not setting the Texture of the Cube Map to a different sampler unit and that was causing all the other textures to not show, and only the first texture to do so, that was the first one that I had loaded: the cube map. Somehow Intel cards will forgive that, and identify that the Cube texture is not a 2D texture and set a different unit for it. Anyway, problem solved thanks to Mr. Feeney!
Interactive Camera and Lights
For the camera, I had already implemented an interactive camera before and you can check more about it on this post.
For the lights, I simply put them attached to controllable Game Objects. Problem solved easily for those too.
Transparency
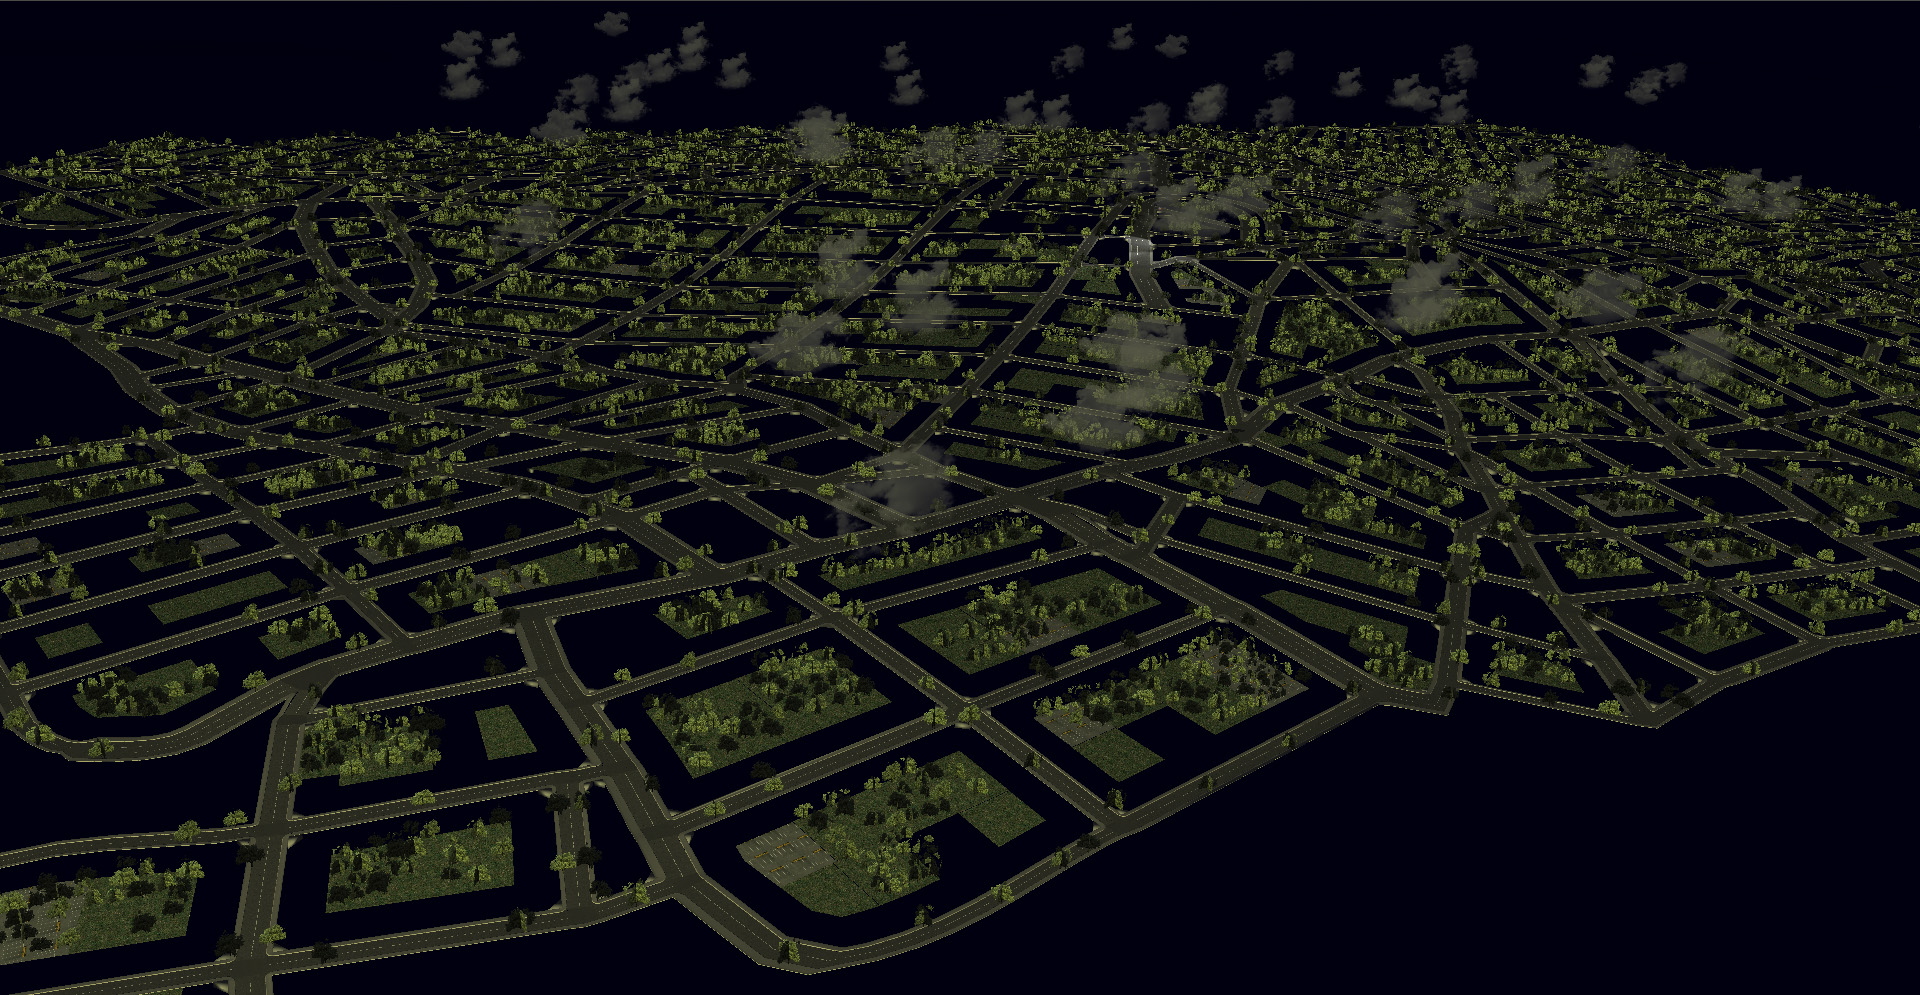
The transparent objects, besides loading a second texture to a model and blend them together in the shader, you also have to solve the problem that a “transparency” of an object will erase other transparent objects behind it. The effect looks pretty weird as you can see here:
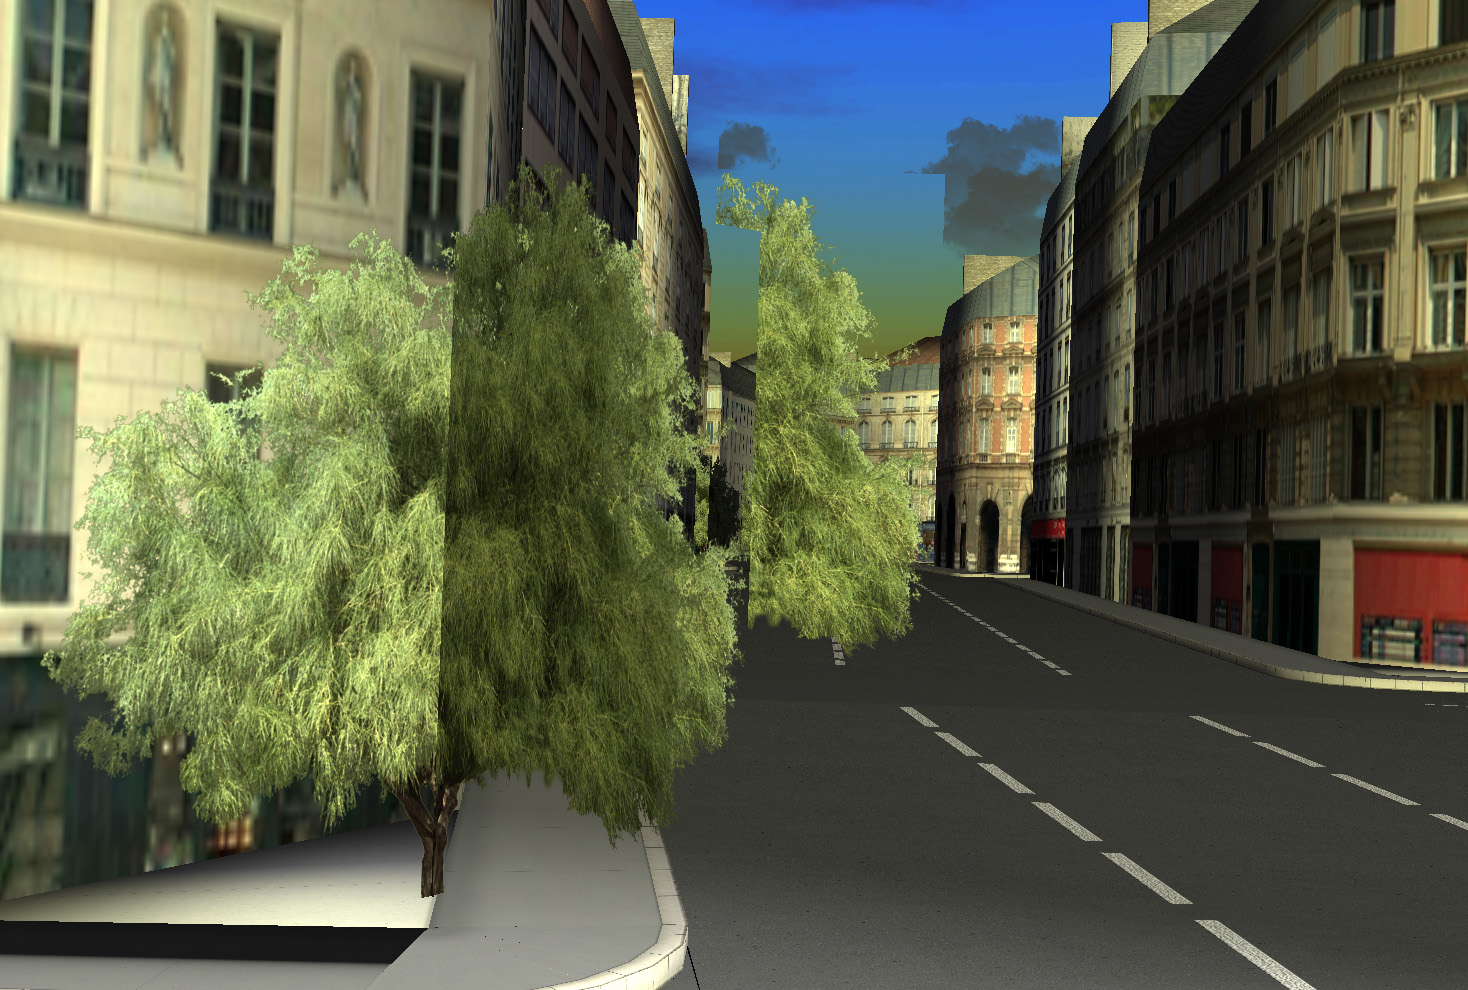
What you are seeing is a cross textured tree with its transparent part erasing the other trees behind it. If you look closer, it is even erasing the clouds (other transparent objects).
There are two ways to solve that:
- Sorting the objects when drawing them
- Use GLSL
discard
well, sorting this for each draw call would be a kind of a heavy task for each frame:
There are probably thousands of them to sort. Also, that would mean thousands of draw calls more if those trees were each one an unique objects. So I turned them an unique object (as well as most of the scene) and use the magic GLSL command discard for a value of the alpha texture less than 0.5. Here is an excerpt of the code in the Fragment Shader:
if (useDiscardAlpha)
{
	if (texCol01.r < 0.5)
		discard;
}
fragColourOut.a = texCol01.r;
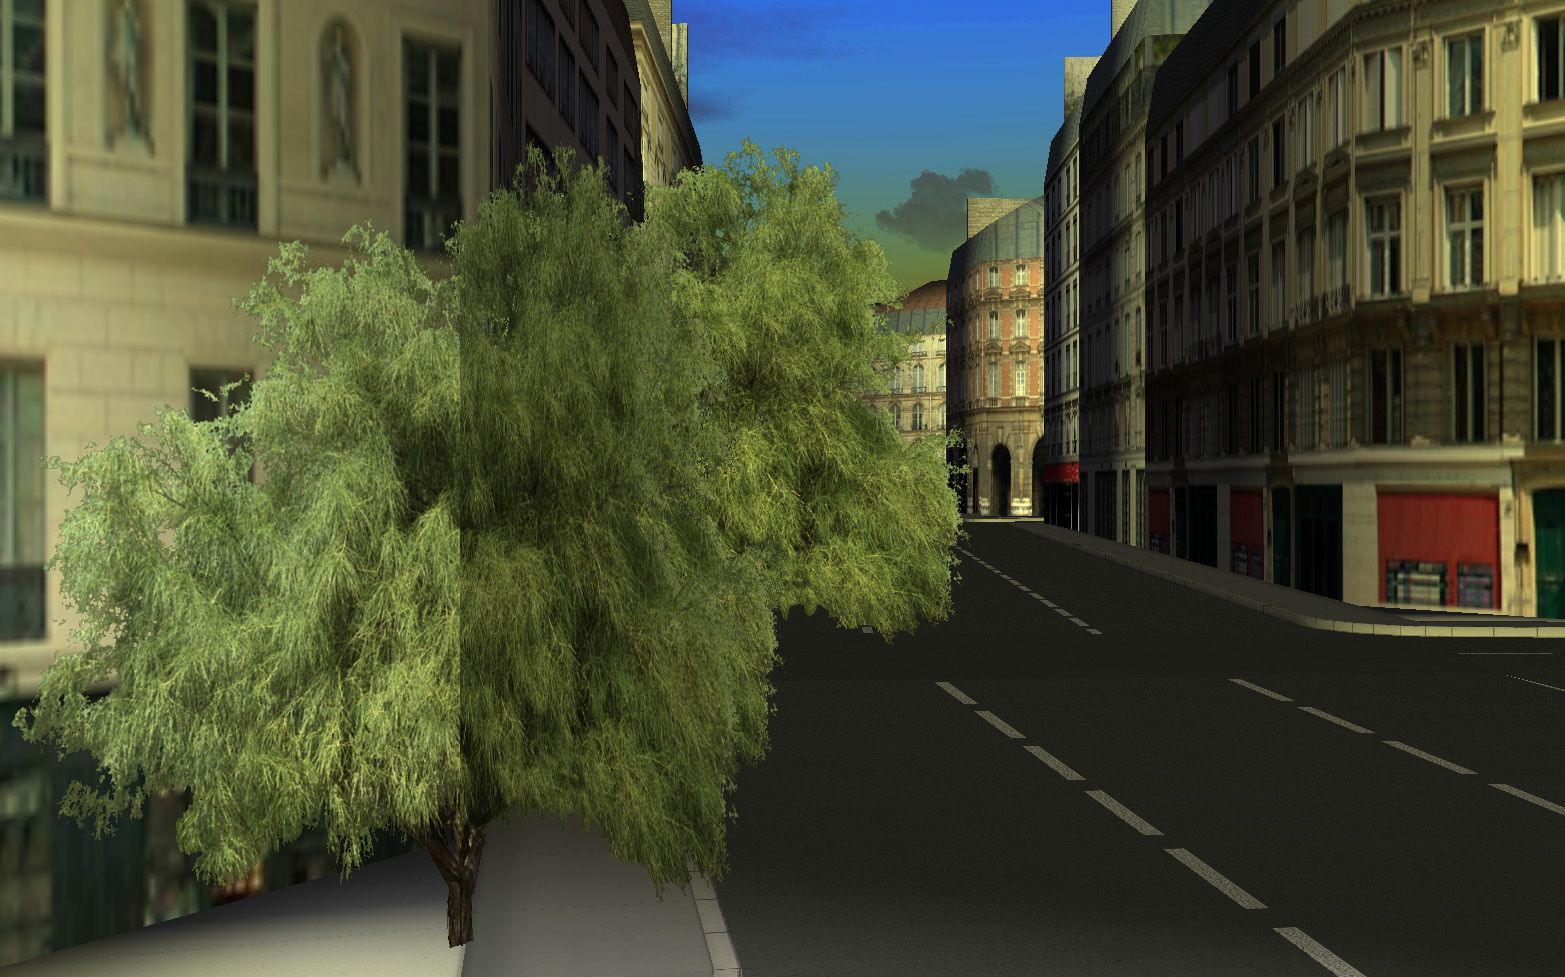
Now we can see a proper effect for the trees:
The discard is great, but there is the problem that we may lose some “gradient” there. For instance, if we use it with the “clouds”, the effect would be awful, and ywe would not see it as a kind of translucent object as it should. So, the solution for it is sorting them before the drawing.
To sort the clouds, and actually any transparent object that needs to be sorted, simple calculate the distance to the camera for each draw loop and draw them from back to front, so the transparency of one wont erase the other clouds.
One last thing for the clouds though. They are simple squared faces with textures and not even “crossed” ones like the trees. This means that if we move the camera, we can notice them getting thinner, until the pretty “cloud effect” is broken and we then notice they are just planes. To work around that I made them point to the camera before drawing as well. Another problem solved with a simple trick.

Conclusion
This was somewhat a long post, and I did not mention a lot of details to keep it as short as possible. It was also a very demanding project, however I enjoyed doing it and solve the issues that I have encountered along the way.
I tried to show here the key things that were done and the main tricks that I did to solve some problems. I don’t know yet what my grade was but one thing for sure is that I have learned a lot trying to put it all together.
In case you want to see the presentation of this project to Professor Feeney, you are welcome to watch it my YouTube channel here:
I hope this has helped you in any way. Please feel free to leave a comment or, if you want to contact me, use any means at the bottom of this page.
Have fun coding,
Jorge Amengol.